Clean Out Your Dryer Exhaust: Boost Efficiency and Prevent Fires
Why Cleaning Your Dryer Vent Duct Matters for Safety and Efficiency
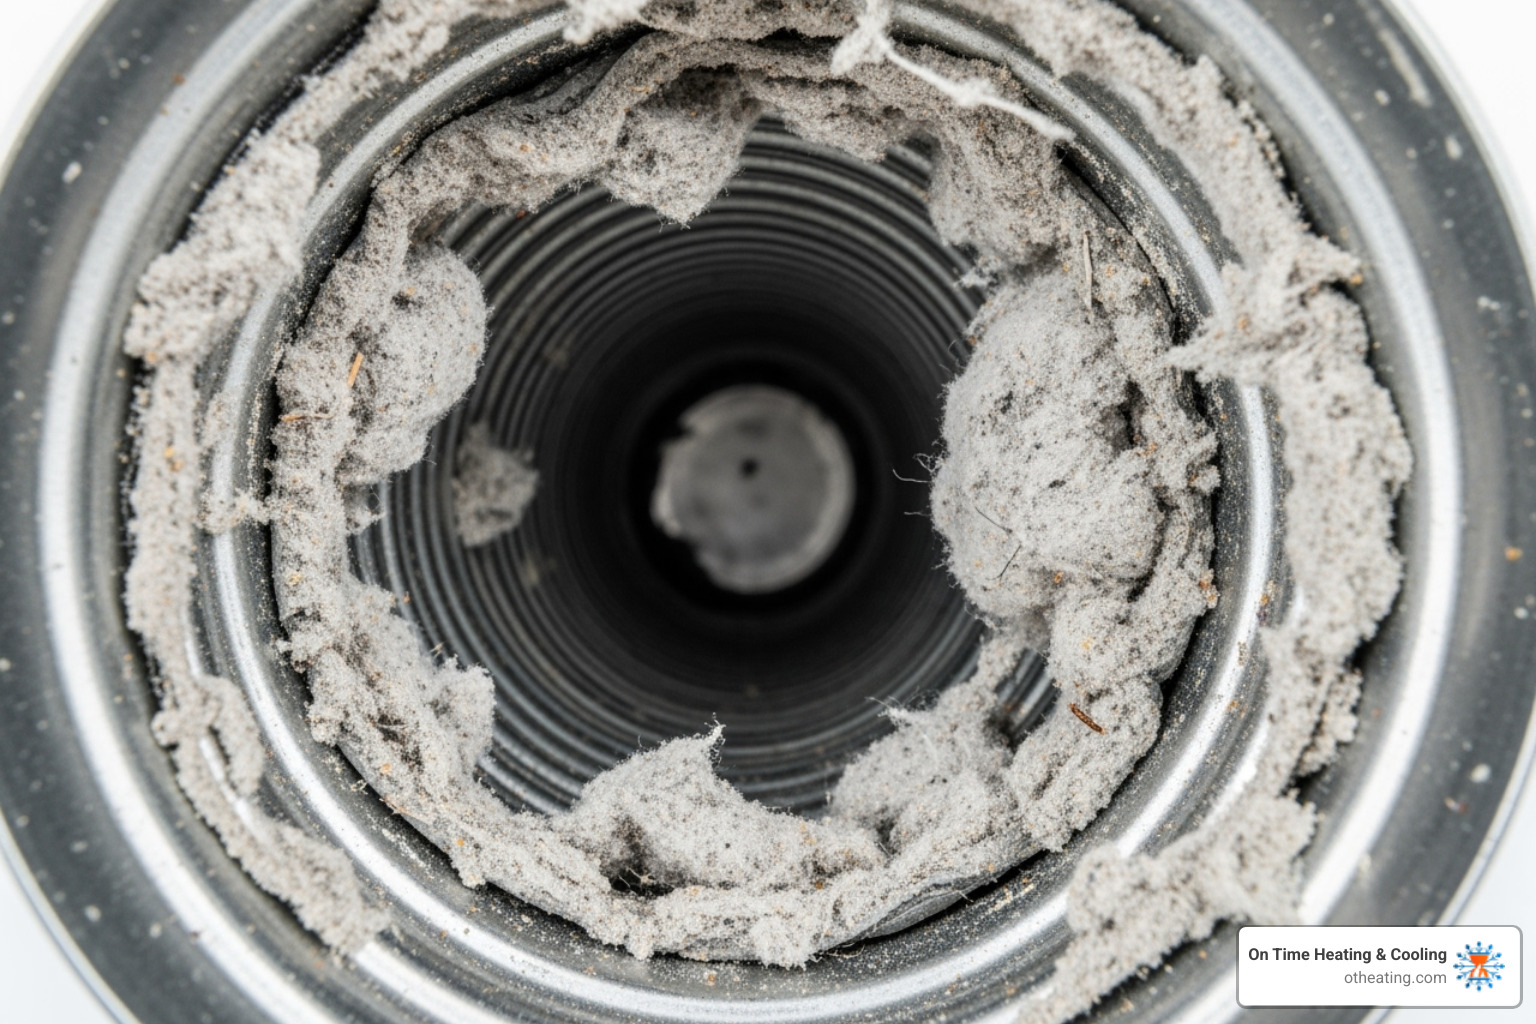
If you need to clean a dryer vent duct, you're taking a vital step toward protecting your home and improving your dryer's performance. A clogged dryer vent is a serious safety risk. The National Fire Protection Agency (NFPA) reports that failure to clean the dryer is a leading cause of thousands of home clothes dryer fires annually.
When lint builds up, it restricts airflow, creating a flammable hazard that leads to longer drying times, higher energy bills, and carbon monoxide risks for gas dryers. Cleaning your vent at least once a year keeps your dryer running efficiently and your family safe.
Quick answer: To clean a dryer vent duct:
- Disconnect the dryer from power and gas (if applicable).
- Remove the duct from the dryer and wall.
- Clean the lint trap, duct interior, and exterior vent using a vacuum and specialized brush.
- Reconnect everything securely and test airflow.
For comprehensive indoor air quality services in Menomonee Falls, WI, including duct cleaning, learn more about vent cleaning in Waukesha, WI.
Why and When You Need to Clean Your Dryer Vent
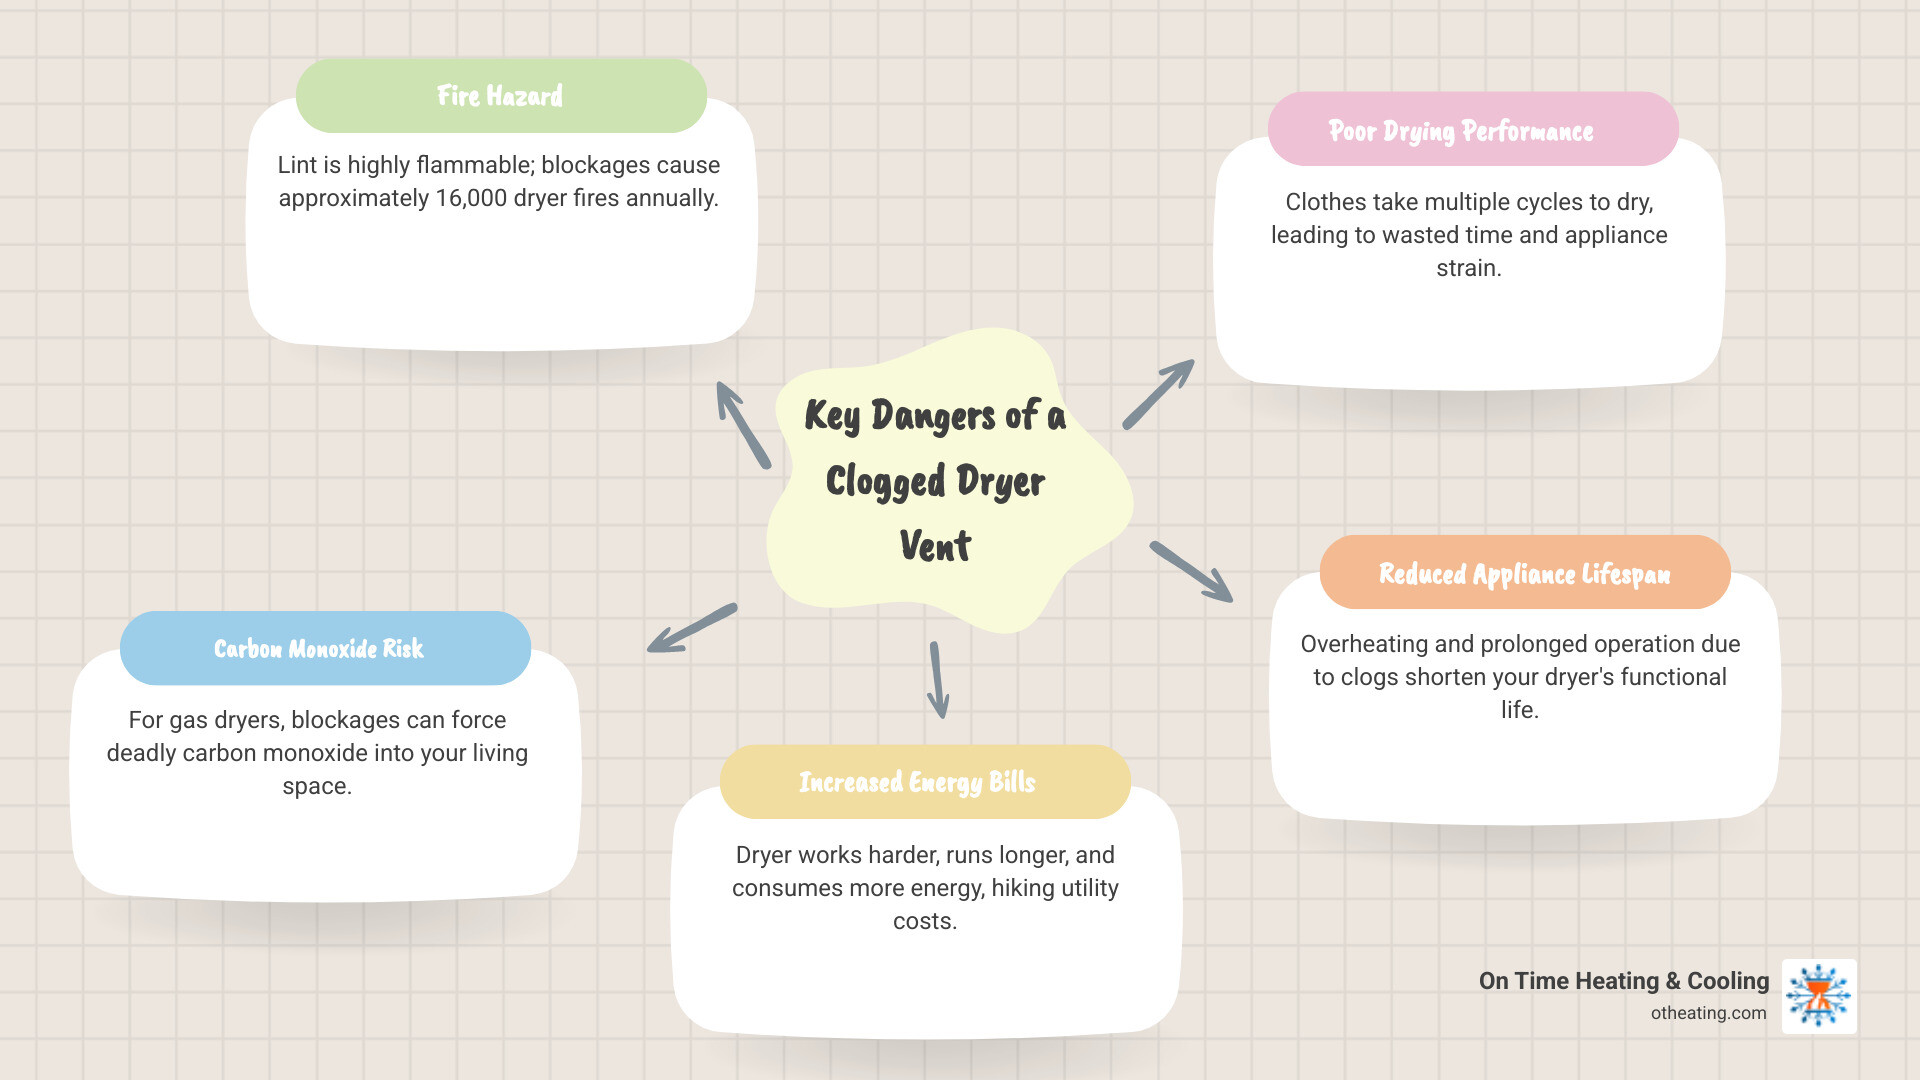
A clogged dryer vent duct isn't just an inconvenience—it creates serious risks for your home, finances, and family's safety. The most significant danger is fire. Lint is highly flammable, and when it accumulates in a hot dryer vent, it can easily ignite. The NFPA reports that 27% of dryer fires are caused by dust and lint buildup, resulting in thousands of preventable residential fires, injuries, and millions in property damage.
For gas dryers, a clogged vent poses another threat: carbon monoxide poisoning. When exhaust gases can't escape, this colorless, odorless gas can back up into your home. A clear vent is essential to prevent this silent killer.
Financially, a clogged vent forces your dryer to work harder and run longer, leading to higher energy costs. This extra strain also causes premature wear on the appliance's components, shortening its appliance's lifespan and leading to costly repairs or early replacement. Proper ventilation is key to a healthy home, as explained in The Impact of Clogged Ventilation Systems in Lannon and Why Air Duct Cleaning Improves Health.
Signs Your Dryer Vent is Clogged
Pay attention to these warning signs that indicate a blockage:
- Longer drying times: Clothes, especially heavy items like towels, take more than one cycle to dry.
- Burning smell: An acrid odor indicates that lint is overheating in the ductwork.
- Dryer is hot to the touch: The appliance's exterior feels unusually hot because heat cannot escape properly.
- Clothes are unusually hot: Laundry is excessively hot at the end of a cycle.
- Visible lint around the exterior vent: You see lint buildup outside, or the vent flap doesn't open when the dryer is on.
- Increased humidity in the laundry room: Moist air backs up into the room instead of venting outside.
If you're dealing with airflow issues elsewhere in your home, our guide on Solving Home AC Airflow Problems might help.
How Often Should a Dryer Vent Be Cleaned?
You should clean your dryer vent duct at least once a year. However, you may need to clean it more frequently—every six months or even quarterly—under certain conditions. Consider a more frequent cleaning schedule if you have a large family and do laundry daily, regularly dry items that produce a lot of lint (towels, blankets, pet bedding), or have a long and complex vent duct with multiple turns. Pet owners should also clean more often, as pet hair accelerates lint accumulation. Staying ahead of buildup is the best way to prevent emergencies, a principle that also applies to scheduling other maintenance like air duct cleaning.
Tools and Materials for the Job
Gathering the right tools and following safety precautions will make this job smoother and safer. Here’s what you need to know before you start.
Safety Precautions
- Disconnect Power: Unplug an electric dryer from the wall. For a gas dryer, unplug the electrical cord and shut off the gas supply valve, which is usually on the gas line behind the appliance.
- Gas Line Safety: If you are uncomfortable shutting off and reconnecting a gas line, call a professional. After reconnecting, you can check for leaks by applying soapy water to the connection—bubbles indicate a leak that needs immediate attention.
- Protective Gear: Wear a dust mask to avoid inhaling lint and a pair of gloves to protect your hands.
- Ventilation: Open windows or doors in your laundry area to ensure good airflow while you work.
- Inspect the Duct: Check your vent hose for any rips, crushing, or damage. If it's damaged, replace it. Avoid using sharp tools that could puncture the ductwork.
Proper maintenance is crucial for safety, a concept further explored in How Clean Vents Enhance Your HVAC.
What You'll Need to Clean a Dryer Vent Duct
- Screwdriver or nut driver to loosen duct clamps.
- Vacuum with hose attachments (a shop vac is ideal, but a household vacuum works too).
- Dryer vent cleaning brush or kit with flexible rods.
- Rags or dust cloths for cleanup.
- Work gloves and a dust mask.
- Flashlight to inspect the duct.
- Foil tape or new clamps if you need to repair or replace duct sections.
For optimal safety and efficiency, experts like the International Association of Home Inspectors recommend using rigid metal ducts instead of flexible foil or plastic types, which trap lint more easily. Consider upgrading if you have flexible ductwork.
How to Clean a Dryer Vent Duct: A Step-by-Step Guide
With your tools ready, it's time to clean a dryer vent duct. Following a systematic approach, like the one used in the Air Duct Cleaning Process, ensures a thorough job.
Step 1: Disconnect the Dryer
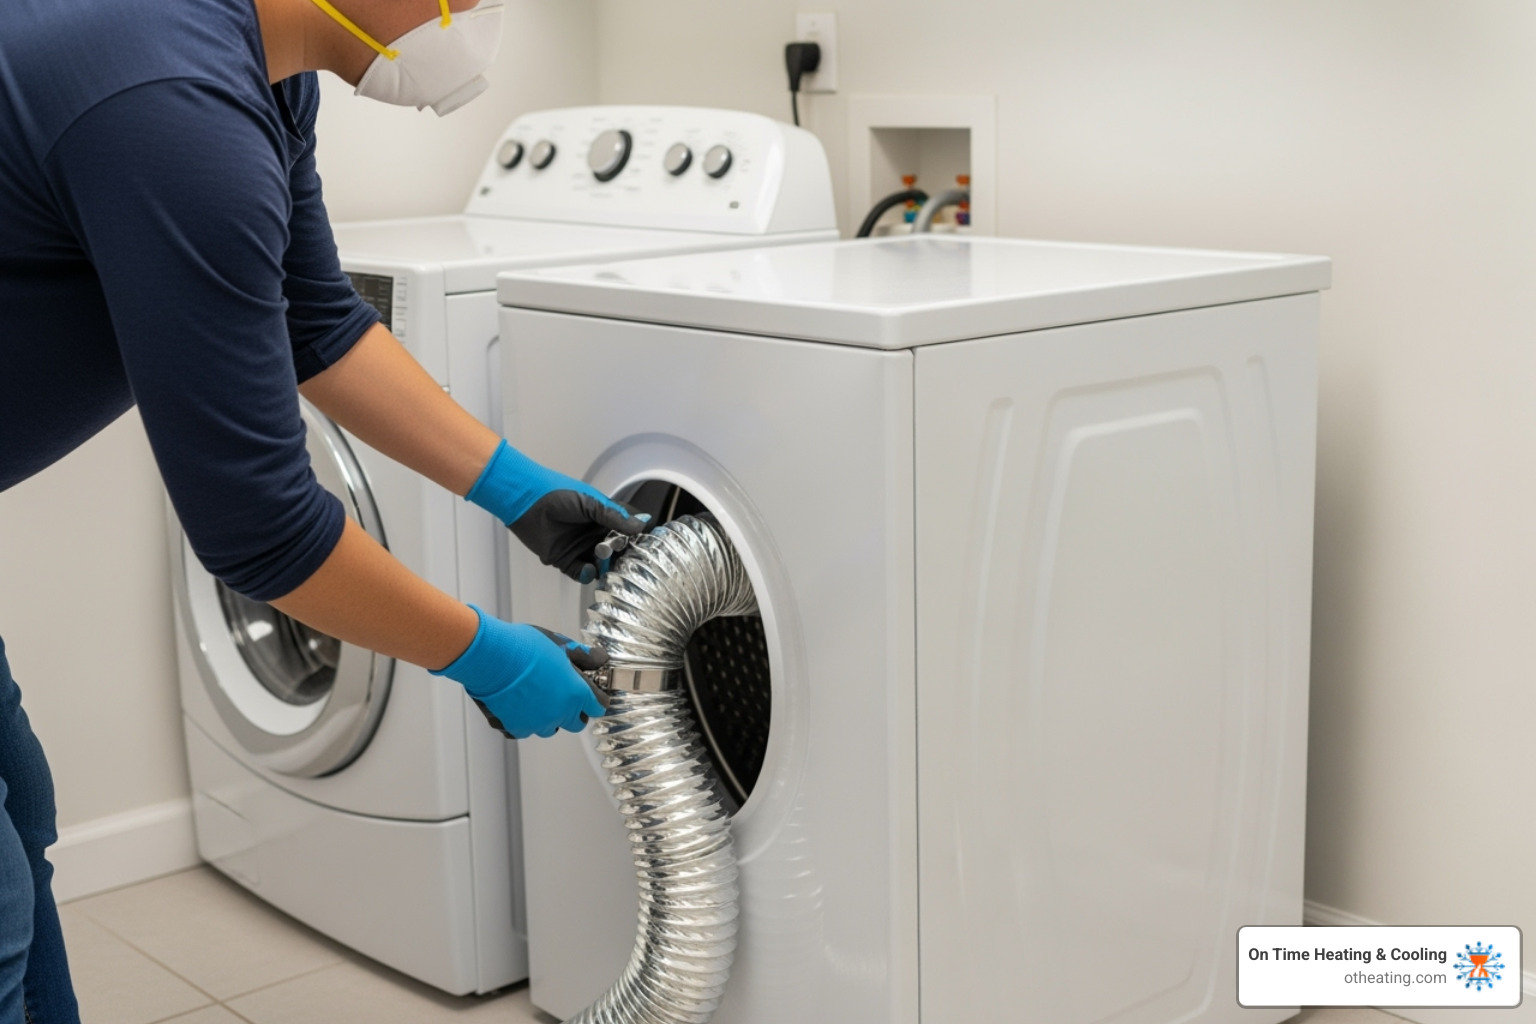
First, ensure the appliance is completely disconnected. For an electric dryer, unplug it from the wall. For a gas dryer, shut off the gas supply valve before unplugging it. If you are unsure about the gas line, call a professional.
Next, gently pull the dryer away from the wall to access the back. Use a screwdriver to loosen the simply clamped duct connection at the back of the dryer and slide the duct off. Do the same to disconnect the duct from the wall. Inspect the duct for damage and consider replacing any flexible foil or plastic sections with rigid metal for better safety and airflow.
Step 2: Clean the Lint Trap and Duct Interior
Now, let's remove the lint.
Start by cleaning the lint screen. Remove it, peel off the lint, and wash it with warm, soapy water and a soft brush to remove any residue from dryer sheets. Let it dry completely.
Next, vacuum the lint trap housing using a crevice tool to remove any lint that has bypassed the screen. A flexible long brush can help dislodge stubborn lint from inside the dryer's exhaust port.
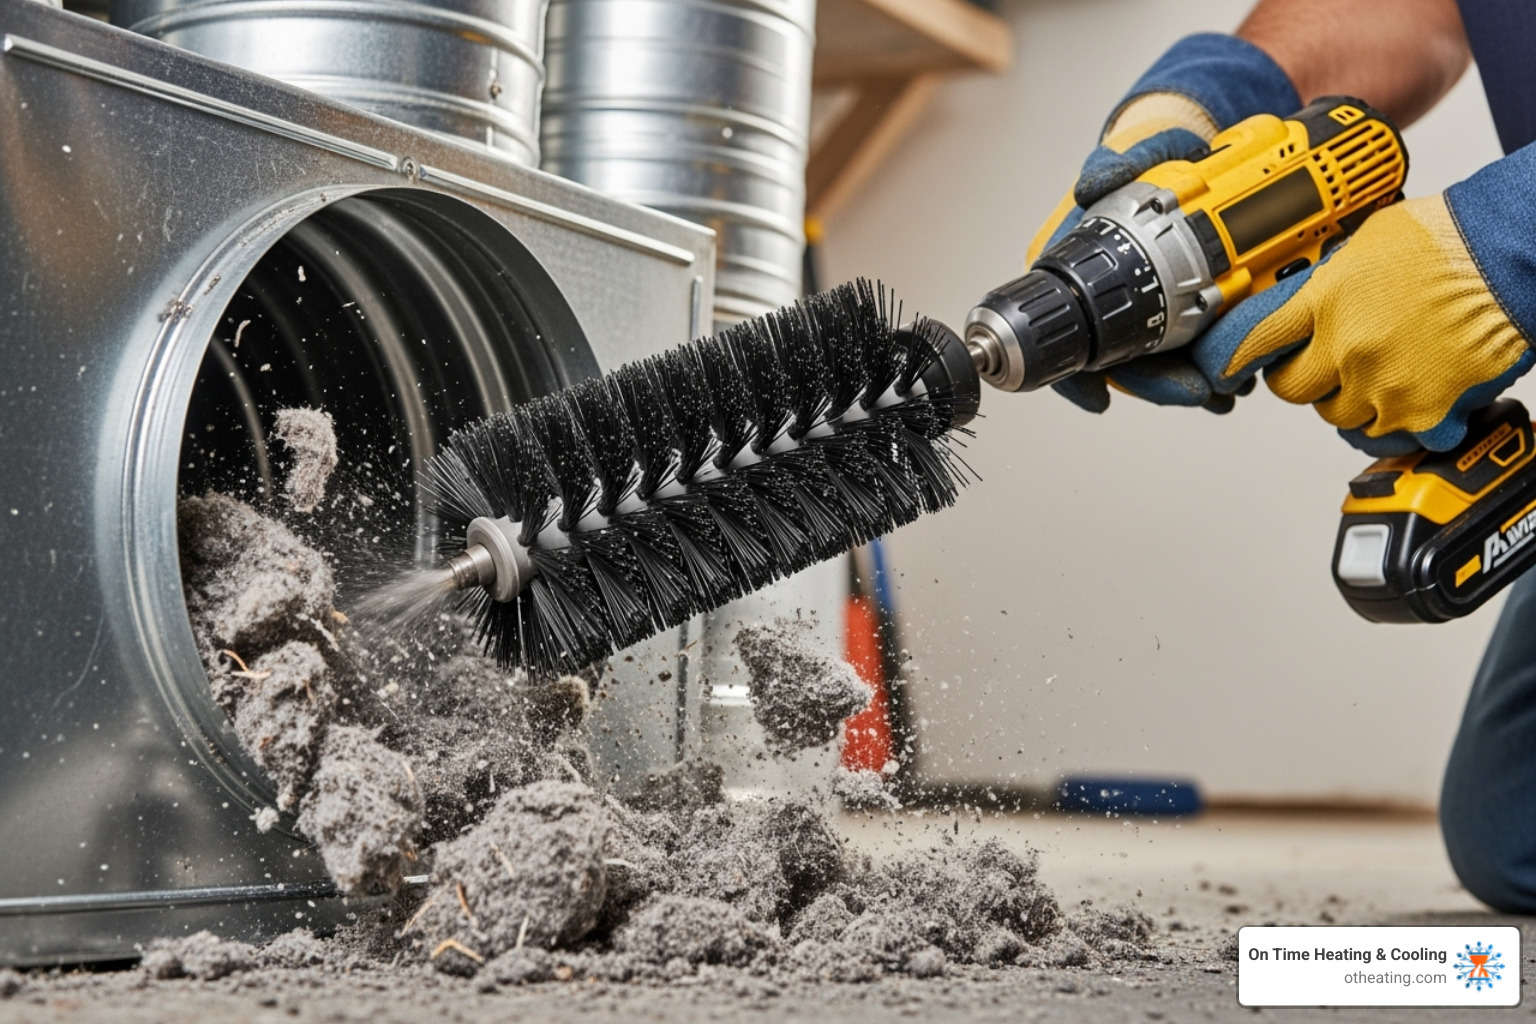
To clean the vent duct, first vacuum out any loose lint from both ends. Then, assemble your duct brush kit and insert the brush into the duct opening in the wall. Push the brush through the duct while rotating it (a drill on a low, steady speed works well). This action scrapes lint from the duct walls. Pull the brush back out, still rotating, and vacuum up the dislodged debris. Repeat until no more lint comes out.
Step 3: Clean the Exterior Vent
The exterior vent cap is a common spot for blockages.
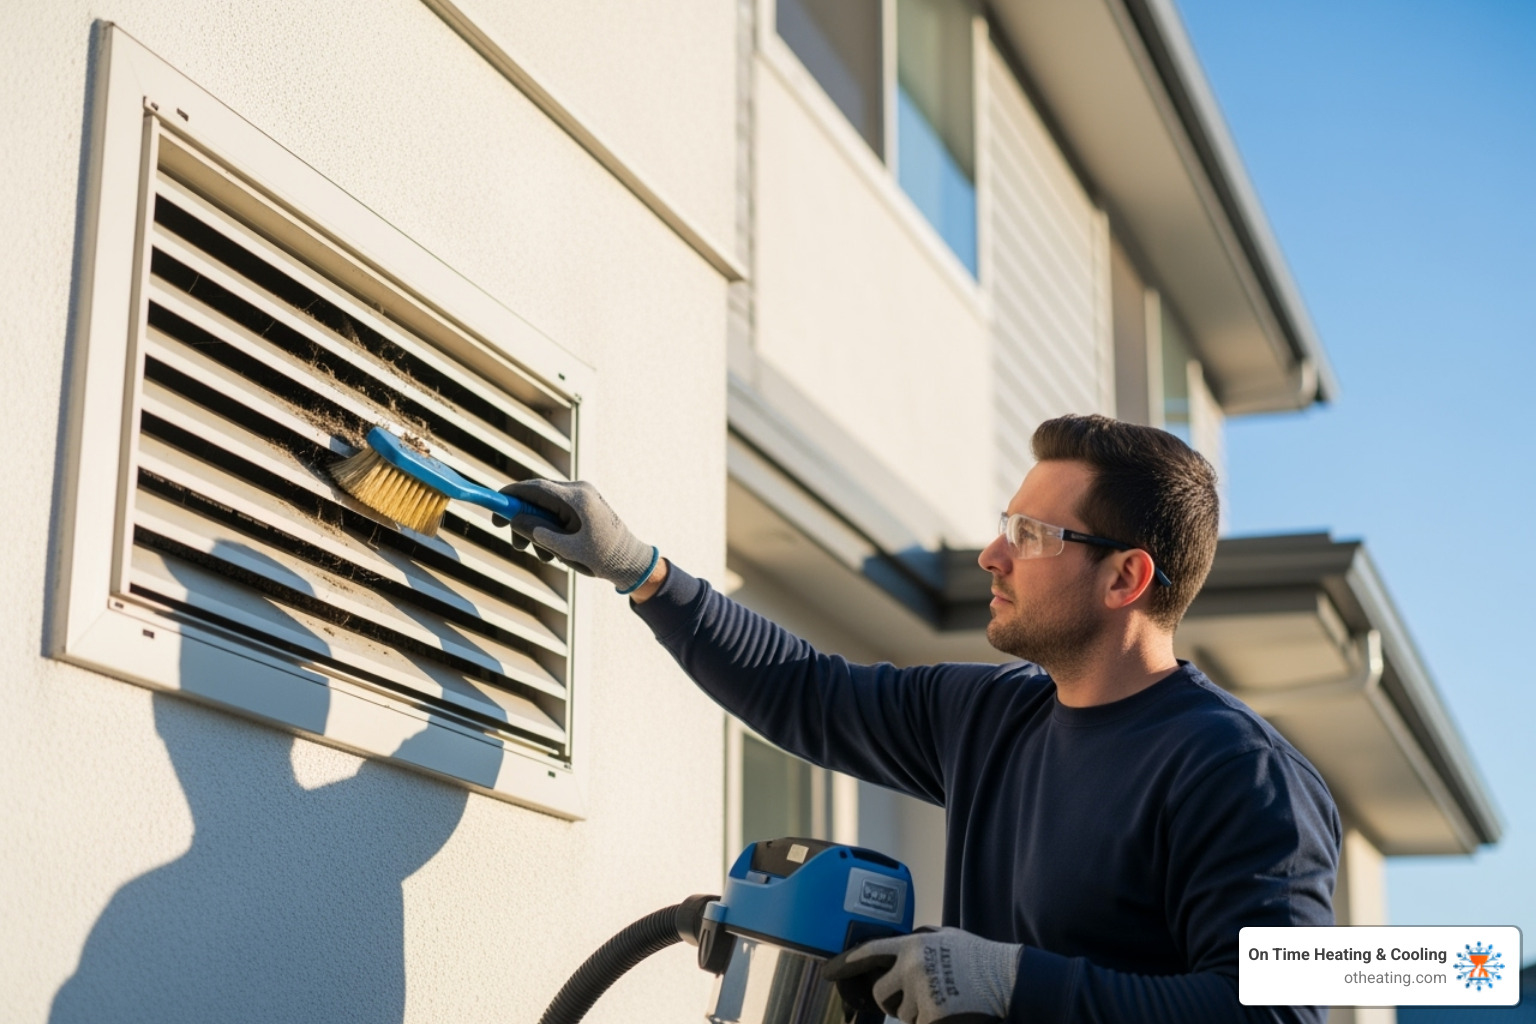
Go outside and locate your dryer vent outlet. Remove the cover if possible and clear away all visible lint, debris, and any nests. Check that any flaps or louvers move freely—stuck flaps will block airflow. Finally, vacuum the exterior opening to remove any remaining lint pushed through from the inside.
Step 4: Reconnect and Test
Carefully put everything back together.
Reattach the duct to the dryer and the wall, securing the clamps tightly. If you used new ducting, seal the joints with metal foil tape. Gently push the dryer back into place, making sure not to crush or kink the duct.
Restore power and gas. For gas dryers, turn the supply valve back on and check for leaks at the connection with soapy water. If you see bubbles, shut the gas off and call a professional.
Finally, run a test cycle on an air-only setting for 15-20 minutes. Go outside and check for strong, steady airflow from the exterior vent. If the flow is weak, you may have a remaining blockage or a poor connection.
Preventing Buildup and When to Call a Professional
After cleaning your vent, proactive maintenance can keep it cleaner for longer and help you know when a job is best left to a professional. Understanding Common Vent Cleaning Mistakes and Prevention is key to long-term safety and efficiency.
Tips to Prevent Future Lint Buildup
Incorporate these simple habits into your routine to minimize lint accumulation:
- Clean the lint filter after every load. This is the single most effective way to stop lint from entering the vent system.
- Don't overload the dryer. Large, tightly packed loads restrict airflow, take longer to dry, and create more lint. Run smaller loads for better efficiency.
- Check the exterior vent periodically. Every few months, ensure the outside vent is clear of debris and that the flaps open and close freely.
- Use the right ducting. If possible, keep your duct run short and straight. Rigid metal ducts are far superior to flexible foil or plastic types, as their smooth interior surface is less prone to lint buildup.
For more home maintenance advice, see our Oconomowoc Air Duct Cleaning Tips.
When to Call for Professional Vent Cleaning
While DIY cleaning is often sufficient, some situations require professional expertise:
- Long or complex duct runs: If your vent is over 25 feet long or has several sharp turns, a professional's specialized equipment is needed to clean it effectively.
- Pest or mold concerns: If you suspect a pest infestation or see signs of mold growth in your air duct system, call an expert to handle the removal safely.
- Gas appliance discomfort: If you're not comfortable disconnecting and reconnecting a gas line, it's always safest to hire a qualified technician.
- Persistent problems: If cleaning doesn't solve issues like long drying times or overheating, a professional can diagnose a hidden blockage or an internal dryer problem.
- Lack of time or ability: If you don't have the time or physical ability to do the job safely, professional services are a convenient and reliable option.
There are many Benefits of Professional Vent Cleaning, and the peace of mind it provides is invaluable. For expert assistance, consider our Vent Cleaning Waukesha WI services.
Frequently Asked Questions about Cleaning a Dryer Vent Duct
Here are answers to some common questions homeowners have about dryer vent maintenance.
What are the biggest risks of a clogged dryer vent?
The three primary risks are house fires, as lint is extremely flammable; carbon monoxide poisoning for homes with gas dryers, as the toxic gas can back up into your home; and wasted energy and money, because the dryer works harder and less efficiently. A clogged vent also causes premature wear on the appliance.
Can I use a leaf blower to clean my dryer vent?
We do not recommend using a leaf blower. While it might seem like a quick fix, it's largely ineffective. A leaf blower can't scrub away compacted lint, may push blockages deeper, creates a huge mess, and can even damage flexible ductwork. A vacuum and a specialized dryer vent brush kit is a much safer and more thorough method.
How is cleaning a dryer vent different from general air duct cleaning?
These are two distinct services. Cleaning a dryer vent duct targets the single exhaust line from your clothes dryer to the outside, removing flammable lint to prevent fires and improve appliance efficiency. In contrast, general air duct cleaning involves cleaning the entire HVAC network of supply and return ducts that circulate air throughout your home. The goal of air duct cleaning is to remove dust, allergens, and other contaminants to improve your home's overall Indoor Air Quality.
Keep Your Home Safe with Regular Maintenance
As this guide shows, taking the time to clean a dryer vent duct is a critical home maintenance task. It's a direct investment in your family's safety, protecting your home from fire and potential carbon monoxide exposure. It also improves your dryer's efficiency, saving you money on energy bills and extending the life of your appliance.
We hope this guide has empowered you to tackle this project. By following these steps and adopting simple habits like cleaning the lint filter after every load, you can significantly reduce risks and gain peace of mind. Good maintenance is the foundation of a safe home and healthy Indoor Air Quality.
However, some jobs are best left to professionals. If your ductwork is long and complex, you suspect pests, or you're uncomfortable working with gas lines, don't hesitate to call for expert help. The team at On Time Heating & Cooling is committed to providing reliable, old-school customer service. Whether you need assistance with your dryer vent or a full professional duct cleaning, we serve communities throughout Wisconsin, including Menomonee Falls, Waukesha, and Brookfield, and are ready to ensure your home is safe and comfortable.

%202%20(1).svg)
.svg)


.svg)
.svg)
.svg)

.svg)