%202%20(1).svg)
.svg)

Cool Moves: What Happens During Your New AC Installation
Written by
On Time Heating & Cooling
Published on
September 16, 2025
Why Understanding the AC Installation Process Matters
The AC installation process involves several critical steps that determine how well your new cooling system will perform for years to come. Here's what happens during a professional installation:
The 4 Main Stages of AC Installation:
- Pre-Installation Assessment - Home evaluation, system sizing, and preparation
- Old System Removal - Safe refrigerant recovery and equipment disposal
- New System Installation - Setting units, connecting lines, and electrical work
- Testing & Commissioning - System startup, calibration, and performance verification
Installing a new air conditioning system is more complex than many homeowners realize. As one HVAC expert noted: "I'm not going to lie, the installation process for a new air conditioner is complicated. When customers ask me what’s involved in the process, they’re often shocked to learn how much goes into it."
Modern AC units are 20-50% larger than older models to accommodate more efficient components. This means your new system might need different placement or ductwork modifications compared to your old unit.
The entire process typically takes 4 to 8 hours for a standard installation. However, this can vary based on your home's specific needs, existing ductwork condition, and whether electrical upgrades are required.
Understanding what happens during installation helps you prepare properly and ensures you get the most from your investment. Proper preparation can speed up the process and help your new system operate efficiently from day one.

Before the Big Day: Preparing for Your New AC Unit
The excitement of getting a new air conditioner can quickly turn into stress if you're not properly prepared. Think of it like hosting a dinner party – a little preparation goes a long way toward ensuring everything runs smoothly. When our team arrives at your home, having everything ready means we can focus on what we do best: installing your new system efficiently and correctly.

Understanding the Pre-AC Installation Process
Before we even think about touching your old system, there's quite a bit of detective work that happens behind the scenes. Understanding what goes into selecting and preparing for your new AC unit helps you make informed decisions and sets realistic expectations for installation day.
Let's start with the basics: split systems versus packaged systems. Most homes use split systems, where you have an outdoor unit sitting beside your house and an indoor unit tucked away near your furnace. These work great when you already have ductwork in place. Packaged systems, on the other hand, keep everything in one outdoor unit – they're less common for residential homes but perfect when indoor space is tight.
Your new AC system has several key components working together like a well-orchestrated team. The compressor acts like the heart, pumping refrigerant through the system. The condenser releases heat outside while the evaporator coil absorbs heat from inside your home. Your ductwork carries the cool air everywhere it needs to go, and the thermostat gives you control over it all.
Here's where things get really important: sizing your unit correctly. This isn't a "bigger is better" situation. We use something called a Manual J load calculation to figure out exactly what size unit your home needs. This detailed process looks at everything from your insulation and windows to how many people live in your house. Following the standards from the Air Conditioning Contractors of America ensures we get it right the first time.
An undersized unit will run constantly, struggling to keep up and driving up your energy bills. An oversized unit creates its own problems – it'll cycle on and off too frequently, never properly removing humidity from your air. Neither scenario makes for a comfortable home.
Energy efficiency matters too, and that's where SEER ratings come in. The Seasonal Energy Efficiency Ratio tells you how efficiently your unit converts electricity into cooling power. While federal law requires a minimum SEER of 13, newer units often exceed this significantly. Higher SEER ratings mean lower monthly bills, which adds up over the years.
Modern AC units come packed with features that would have seemed like science fiction just a decade ago. Variable-speed compressors provide more consistent temperatures, noise reduction technology keeps things quiet, and smart thermostat compatibility lets you control your comfort from anywhere. If your current system is getting up there in years, a full system upgrade might make more sense than trying to patch together old and new components.
The Professional Home Evaluation
Before we recommend any specific system, our team becomes temporary home inspectors. We're looking at your house through the lens of comfort and efficiency, identifying what's working well and what might need attention.
Ductwork assessment is crucial because even the best AC unit can't perform well with leaky or blocked ducts. We check for holes, loose connections, and areas where insulation might be missing. Poor ductwork can reduce your system's efficiency by up to 30% – that's like throwing money out the window every month.
Your electrical system gets a thorough look too. Modern AC units are more powerful and efficient than older models, which sometimes means they need dedicated electrical circuits or upgraded wiring. We'll examine your circuit breaker panel and let you know if any electrical work is needed before installation day.
Thermostat placement might seem straightforward, but it's actually pretty strategic. The thermostat needs to read your home's temperature accurately without interference from direct sunlight, drafts, or heat sources. Sometimes the perfect spot for your old thermostat isn't ideal for a new, more sophisticated system.
We also calculate your home's airflow requirements and heat gain to ensure your new system can distribute conditioned air evenly throughout every room. No one wants a freezing living room and a sweltering bedroom. This comprehensive evaluation is part of choosing the right AC installation services that will serve you well for years to come.
Your Home Prep Checklist
Your preparation can make the difference between a smooth installation and a day full of delays and complications. Think of yourself as our partner in this AC installation process.
Clearing installation areas both inside and outside gives our team the space they need to work safely and efficiently. Inside, that means moving furniture away from vents, your furnace area, and anywhere we'll need to access ductwork. Outside, we need a clear path to where your new outdoor unit will live – free of plants, garden decorations, or that pile of lawn equipment you've been meaning to organize.
Ensuring easy access to your home helps us bring in tools and equipment without playing an obstacle course. If possible, keep a parking spot open near your house. We appreciate not having to haul heavy equipment from three blocks away.
Moving furniture and protecting belongings shows you're thinking ahead. While we're careful with your home, installation work can get a bit messy. Covering nearby furniture and moving delicate items gives everyone peace of mind.
Planning for pets and children keeps everyone safe and lets our team focus on the job. Maybe arrange a playdate for the kids or set up a comfortable space for pets away from the work area.
Clearing debris from around your outdoor unit location prevents delays and potential safety hazards. We need room to work and proper clearance for your new unit to operate efficiently.
Planning for downtime is just being realistic. There will be a period without air conditioning while we make the switch. If possible, schedule installation during milder weather. Having fans or a portable unit ready can help keep everyone comfortable during the transition.
The more prepared you are, the smoother everything goes. And honestly, there's something satisfying about being part of the process that brings reliable comfort back to your home.
The Professional AC Installation Process: A Step-by-Step Breakdown
Now comes the exciting part – watching your new cooling system come to life! The actual AC installation process is where months of planning and preparation transform into a working air conditioning system that will keep you comfortable for years to come.

Think of professional installation as a carefully choreographed dance. Our experienced technicians follow a precise sequence that ensures every component works together perfectly. This isn't the time for shortcuts or "good enough" solutions – proper refrigerant handling, electrical wiring, and system connections require specialized training and equipment that only licensed professionals possess.
Why does professional AC installation matter so much? Your new system represents a significant investment, and improper installation can cut its lifespan in half. More importantly, DIY attempts often lead to refrigerant leaks, electrical hazards, and voided warranties. We've seen too many homeowners learn this lesson the hard way.
At On Time Heating & Cooling, we blend old-school attention to detail with modern installation techniques. Our team arrives punctually and works efficiently, but never at the expense of quality. Every connection, every seal, and every calibration gets the time it deserves.
Step 1: Removing the Old System
Before your shiny new AC can take its place, we need to safely retire the old system. This step is more complex than it might seem – and it's where professional expertise becomes absolutely critical.
Refrigerant recovery is the first and most important task. Your old AC contains refrigerant chemicals that are both valuable and potentially harmful to the environment. Federal law requires EPA-certified technicians to handle this process, and for good reason. These chemicals can be toxic if mishandled, and EPA standards strictly prohibit releasing them into the atmosphere.
Our technicians use specialized recovery equipment to capture every drop of refrigerant. This isn't just about following regulations – recovered refrigerant can often be recycled or reused, making the process environmentally responsible too.
Once the refrigerant is safely contained, we carefully disconnect all electrical connections and remove both the indoor and outdoor units. Protecting your home interior is a priority during this phase. We lay down protective coverings and take care to prevent dust and debris from spreading throughout your house.
The old equipment doesn't just disappear – proper disposal matters. We ensure your old system is recycled responsibly, keeping harmful materials out of landfills. You can learn more about how to dispose of it safely if you're curious about the process.
Step 2: Installing the New Outdoor and Indoor Units
With the old system gone, it's time for the main event – installing your new cooling equipment. This phase requires precision, patience, and a keen eye for detail.
Preparing the pad for your outdoor unit sets the foundation for years of reliable operation. While older installations often used concrete pads, we typically recommend modern composite pads that absorb vibration and reduce noise. These pads sit on a carefully leveled gravel base, providing superior stability and drainage.
Setting the condenser requires more than just placing it and walking away. We consider airflow requirements, noise implications for your outdoor spaces, and accessibility for future maintenance. The unit needs adequate clearance on all sides – cramped installations lead to reduced efficiency and premature failure.
Inside your home, installing the evaporator coil demands equal attention to detail. This component typically sits atop your furnace, and proper spacing is crucial. Too close to the heat exchanger, and you risk melting the drain pan. Too far away, and airflow suffers.
Sealing the plenum – the box that connects your evaporator coil to the ductwork – is where many installations succeed or fail. Poor sealing allows conditioned air to escape before it reaches your living spaces, wasting energy and reducing comfort. Our technicians take extra care here, ensuring every joint is properly sealed for maximizing comfort with AC installation.
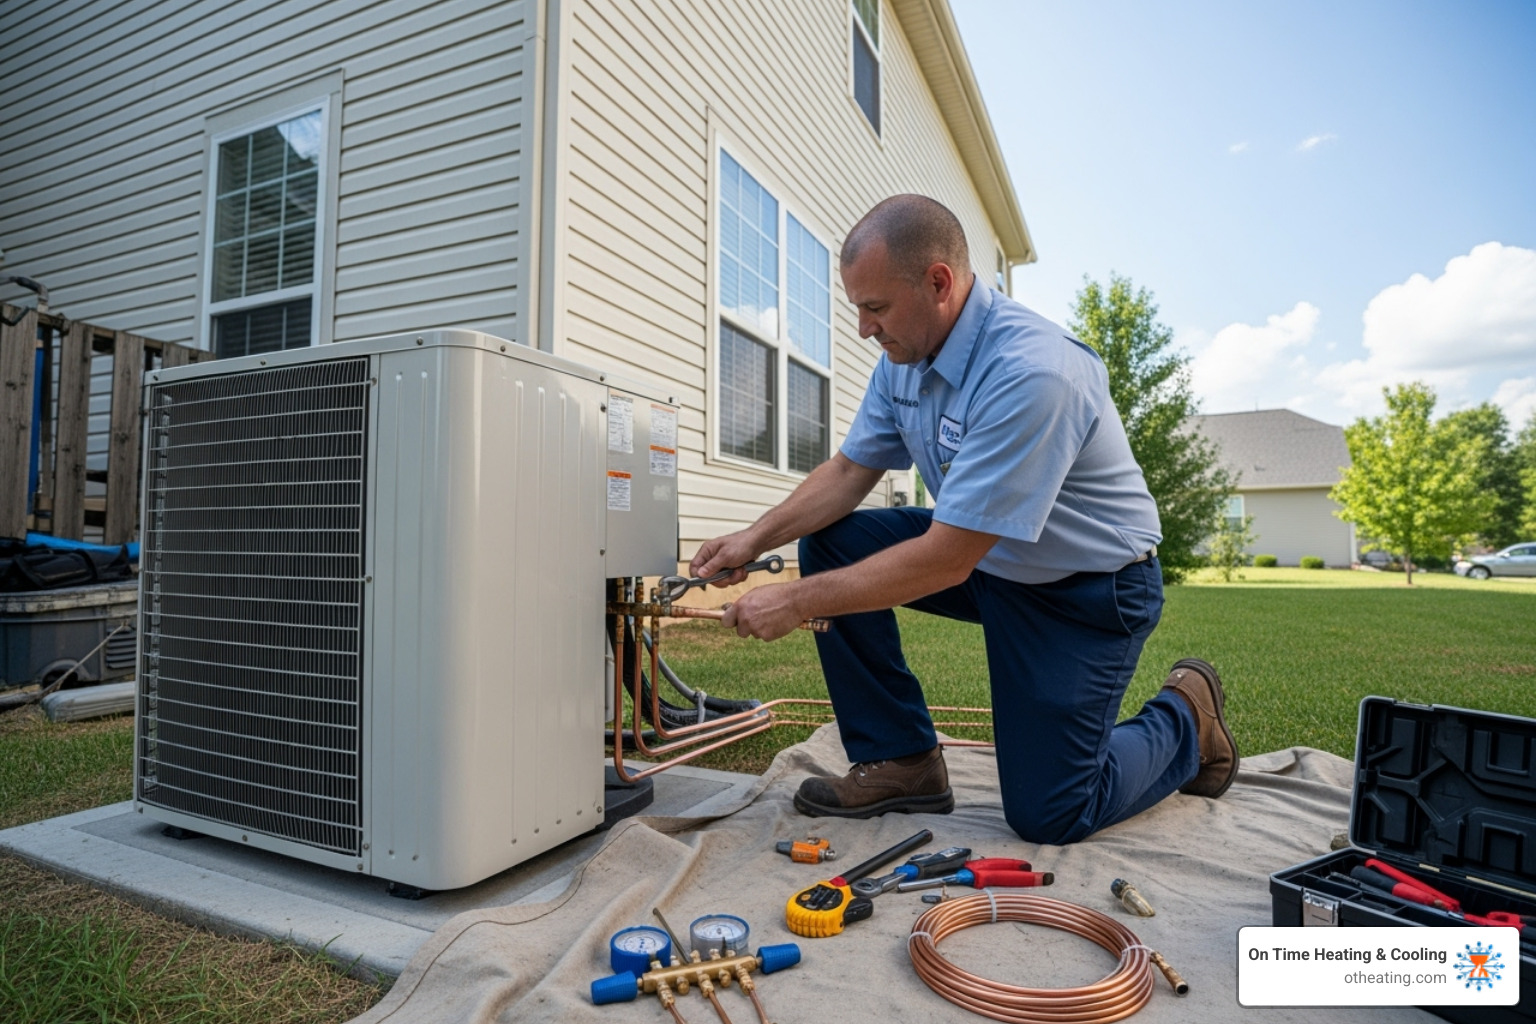
Step 3: Connecting the System
This is where all the pieces come together into a unified cooling system. It's also the most technically demanding phase of the installation.
Installing refrigerant lines involves running new copper tubing between your outdoor condenser and indoor evaporator coil. While existing lines can sometimes be reused, we often recommend new line sets to ensure optimal performance. Old lines may contain residual oils or refrigerants that could contaminate your new system.
The connections themselves are made through brazing – a high-temperature welding process that creates permanent, leak-proof seals. During brazing, we flow dry nitrogen through the lines to prevent oxidation inside the copper tubing. This extra step prevents contamination that could damage your compressor down the road.
Electrical wiring connects your new system to your home's power supply. This isn't just about making things work – it's about making them work safely. Our licensed electricians ensure all connections meet National Electrical Code standards, including installing a dedicated circuit and disconnect box near the outdoor unit.
The disconnect box deserves special mention. This safety feature allows you to cut power to the unit for maintenance or emergencies. We typically install fused disconnects that provide overcurrent protection as required by most manufacturers, though non-fused options rely on your home's circuit breaker for protection.
Condensate drain line installation handles the water your AC produces as it removes humidity from your indoor air. This PVC line carries condensate away from the evaporator coil to a floor drain or condensate pump. We install proper traps to prevent sewer gases from entering your home and often include overflow switches that shut down the system if the drain becomes blocked.
Finally, thermostat installation gives you control over your new system. Whether you're upgrading to a smart thermostat or keeping your existing one, we ensure proper wiring and configuration for seamless communication between all components.
Every connection we make follows rigorous steps for quality AC installation. There are no shortcuts in this phase – your comfort and safety depend on getting every detail right.
After the Install: Testing, Maintenance, and Enjoying the Cool
Once all the components are in place and connected, the AC installation process isn't complete until we've thoroughly tested and commissioned your new system. This final stage is crucial to ensure everything is operating as it should, ready to deliver efficient and reliable cooling for years to come.

Think of this phase as the "dress rehearsal" before opening night. Your new system might look perfect, but we need to make sure it performs perfectly too. Our commitment to ensuring your satisfaction doesn't end when the installation wraps up. We believe in providing comprehensive support, making sure you understand how to get the most out of your investment.
What to Expect During the Post-AC Installation Process
After the physical installation, our technicians perform a series of critical checks that go far beyond simply flipping the "on" switch. This detailed commissioning process ensures your system will run efficiently and reliably from day one.
System startup and commissioning begins with carefully charging the system with the correct amount of refrigerant according to manufacturer specifications. Too little refrigerant means poor cooling performance, while too much can damage the compressor. We then initiate a methodical startup sequence that includes checking suction and liquid line pressures to confirm proper refrigerant flow throughout the system.
Airflow measurement is another crucial step. We verify how much air is moving through your system and ducts, ensuring it matches the design specifications. Poor airflow can make even the best AC unit struggle to cool your home effectively.
The temperature drop test tells us if your system is actually cooling the air properly. We measure the difference between the air going into your system and the air coming out. A properly functioning system should show a significant temperature difference that falls within manufacturer guidelines.
For the technically inclined, we also measure superheat and subcooling - advanced measurements that tell us if the refrigerant is absorbing and releasing heat efficiently. These readings help us fine-tune the system for optimal performance.
Thermostat calibration ensures your new control center accurately reads your home's temperature and communicates effectively with the AC unit. We'll walk you through programming and using all its features, whether it's a basic model or a smart thermostat with Wi-Fi connectivity.
Before we pack up our tools, we conduct a final walkthrough with you. This isn't just a formality - it's your chance to ask questions and learn about your new system. We'll explain how everything works, review important maintenance instructions, and provide you with all necessary documentation, including warranty information and owner's manuals. Keep these documents in a safe place - you'll need them for warranty claims and future service calls.
Long-Term Care for Your New AC
Your new AC unit represents a significant investment in your home's comfort, and proper long-term care is essential to maximize both its efficiency and lifespan. The good news? Most maintenance tasks are straightforward and don't require advanced technical knowledge.
| Task | Frequency | Description |
|---|---|---|
| Change air filters | Monthly during peak season | Replace or clean filters to maintain proper airflow and indoor air quality |
| Clear outdoor unit | Monthly | Remove leaves, debris, and vegetation within 2 feet of the condenser |
| Check thermostat settings | Seasonally | Verify programming and replace batteries if needed |
| Professional tune-up | Annually | Comprehensive system inspection, cleaning, and maintenance by certified technicians |
| Inspect ductwork | Annually | Check for leaks, damage, or blockages that could reduce efficiency |
| Clean drain line | Annually | Prevent clogs that could cause water damage or system shutdown |
Regular filter changes are probably the most important thing you can do for your new system. A dirty filter forces your AC to work harder, reduces efficiency, and can lead to premature wear. During peak cooling season, check your filter monthly and replace it when it looks dirty.
Cleaning the outdoor unit is equally important. Your condenser needs good airflow to release heat effectively. Keep leaves, grass clippings, and other debris away from the unit, and trim back any vegetation that might restrict airflow.
Scheduling professional tune-ups with our team ensures your system continues operating at peak efficiency. During these visits, we'll clean components you can't safely access, check refrigerant levels, test electrical connections, and catch small problems before they become expensive repairs.
Understanding your warranty coverage is also crucial. Most manufacturers require regular professional maintenance to keep warranties valid. We'll help you understand what's covered and ensure you meet all requirements to protect your investment.
The top benefits of professional AC installation become clear over time: improved energy efficiency, fewer repair calls, longer system life, and consistent comfort throughout your home. When you choose quality installation and follow proper maintenance practices, your new AC system will provide reliable cooling for many years to come.
.svg)
.svg)
.svg)
Monday to Sunday:
24/7
24/7
Payments By:

review us on:
©
on time heating & cooling All rights reserved.
Designed & Developed By :
.svg)